
Learning professional photography starts with understanding your camera and how it interprets light.
It’s not just about owning expensive gear — it’s about mastering the fundamentals that transform ordinary shots into captivating images.
You’ll explore how light, exposure, and focus work together to shape every photograph. By learning these techniques, you can capture moments with confidence and creativity.
Understanding Photography Basics
Photography is about controlling light and transforming it into visual stories. Every camera, whether digital or mirrorless, works by capturing light reflected from a subject through the lens and onto the sensor.
To take good photos, you must understand how the camera’s core settings affect each image. Once you grasp these basics, you’ll be able to adjust them for any environment.
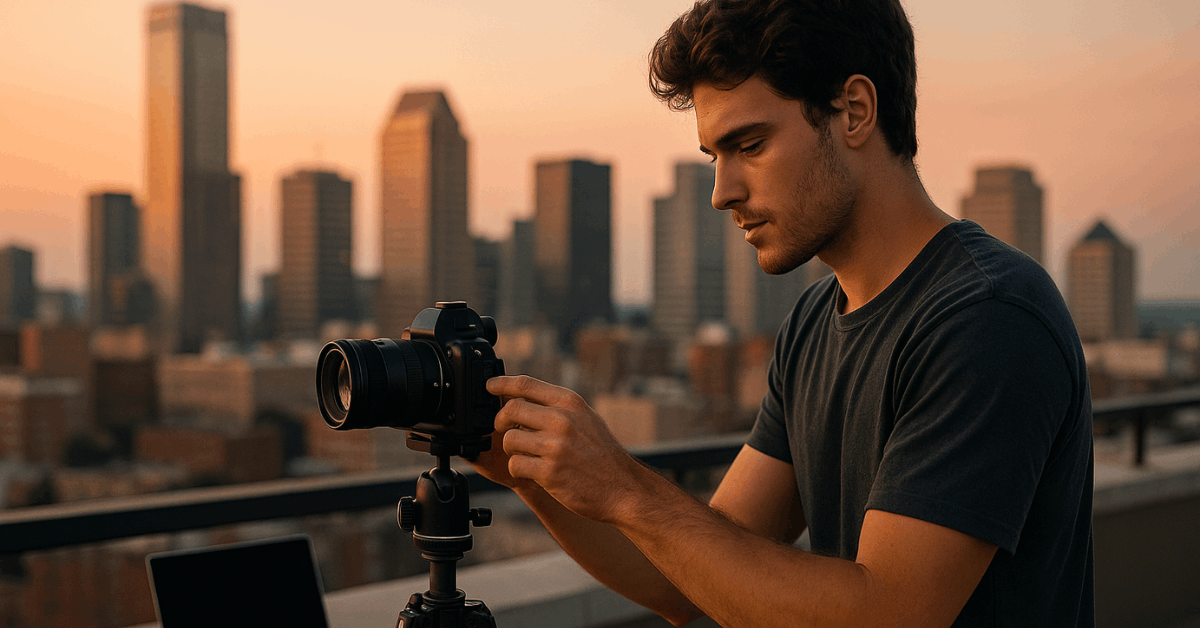
Key Concepts to Learn
Photography’s foundation rests on understanding exposure and camera operation.
- Exposure: Determines how bright or dark your image appears.
- Aperture, Shutter Speed, and ISO: Work together to balance light and clarity.
- Manual Mode: Gives you full creative control over results.
- Composition: Helps you organize visual elements effectively.
The Exposure Triangle: ISO, Aperture, and Shutter Speed
To master exposure, you must understand how these three settings interact. Each controls light in a different way, and together they shape the overall appearance of your photo. Learning to balance them is essential for professional-quality images.
ISO – Sensitivity to Light
ISO determines your camera’s sensitivity to light. Lower ISO settings (100–200) work best for bright conditions, producing clean and sharp images.
Higher ISO (800 and above) helps in darker situations but can add digital noise. For crisp results, use the lowest ISO possible while keeping the image properly exposed.
Aperture – Depth and Light Control
Aperture controls how much light enters through the lens and affects depth of field. A lower f-stop (like f/2.8) lets in more light and blurs the background, ideal for portraits.
Higher f-stops (like f/11 or f/16) keep everything in focus, perfect for landscapes. Mastering aperture helps you create visual emphasis and control focus depth.
Shutter Speed – Capturing Motion
Shutter speed decides how long the sensor is exposed to light. Fast speeds (1/1000s) freeze motion, great for sports or wildlife.
Slow speeds (1/30s or lower) allow creative blur in moving subjects like waterfalls. Always adjust shutter speed to match lighting and motion for a well-balanced shot.
Camera Modes and Settings
Your camera includes several modes that simplify shooting in different environments. Each mode offers various levels of control over exposure and focus. Knowing when to use each one helps you shoot faster and with better results.
Common Shooting Modes
Different modes let you adjust settings automatically or manually based on your skill level.
- Auto Mode: Handles exposure and focus automatically.
- Aperture Priority (A/Av): You choose aperture; the camera adjusts shutter speed.
- Shutter Priority (S/Tv): You control shutter speed; the camera sets aperture.
- Manual Mode (M): Full control of all settings.
- Program Mode (P): Offers slight manual flexibility.
Mastering Focus and Sharpness
Sharpness defines a professional image. Controlling focus ensures your subject is clear while maintaining artistic intent. Focus systems vary, but learning when to use each is key to consistency.
Focus Techniques for Beginners
Good focus combines accuracy and stability.
- Autofocus Modes: Use single (AF-S) for still subjects and continuous (AF-C) for movement.
- Manual Focus: Ideal for precise control in low light.
- Stabilization: Prevent blur using tripods or image stabilization features.
- Shutter Release Techniques: Press smoothly to avoid camera shake.
Composition Techniques for Impactful Photos
Composition transforms your photo from average to professional. It’s about arranging elements in the frame for balance and emotional impact. Once you know the rules, you can break them creatively.
Essential Composition Rules
Learning visual organization enhances your storytelling.
- Rule of Thirds: Divide your frame into nine sections for balanced placement.
- Leading Lines: Guide viewers’ eyes to your subject naturally.
- Symmetry and Patterns: Create pleasing visual repetition.
- Negative Space: Simplify the scene to emphasize the subject.
Lighting Fundamentals
Light defines the quality of your photo. Understanding how to use it determines mood, clarity, and color accuracy. Learning to manage light conditions prepares you for indoor and outdoor shoots.
Light Control Essentials
Knowing how to shape light improves every image.
- Natural Light: Use sunlight for warmth and realism.
- Artificial Light: Adjust color and direction for creative control.
- Soft vs. Harsh Light: Soften light with diffusers or shade.
- Reflectors: Bounce light to fill unwanted shadows.
Understanding Lenses and Focal Length
The lens you use dramatically affects composition and perspective. Each focal length produces different effects on distance and subject framing. Choosing the right lens ensures clarity and storytelling precision.
Types of Lenses
Each lens type serves a specific visual goal.
- Prime Lens: Fixed focal length, sharper results, wider apertures.
- Zoom Lens: Variable focal range for flexibility.
- Wide-Angle Lens: Ideal for landscapes and architecture.
- Telephoto Lens: Great for portraits and distant subjects.
White Balance and Color Management
White balance ensures colors look natural in different lighting. Cameras interpret colors differently depending on temperature and environment. Adjusting this setting prevents unwanted color casts.
White Balance Tips
Managing color makes your photos look consistent and realistic.
- Auto White Balance: Convenient but not always accurate.
- Preset Modes: Daylight, Shade, and Tungsten options simplify correction.
- Custom Balance: Manually adjust using a white or gray card.
- Editing Software: Fine-tune color temperature afterward if needed.
Using Manual Mode Effectively
Manual mode gives you total control over every exposure element. It’s where beginners transition into confident photographers.
Understanding how ISO, aperture, and shutter speed connect helps you achieve consistent results.
Practical Manual Mode Steps
Learning manual mode takes patience and practice.
- Start with base settings like ISO 100, f/8, and 1/125s.
- Adjust each setting depending on light and movement.
- Use the light meter as your guide.
- Review your histogram to correct under or overexposure.
Post-Processing and Editing Basics
Editing refines your photo and enhances what you captured. You don’t need advanced tools to make an impact—small adjustments can make a big difference. Always edit to improve realism, not to distort it.
Basic Editing Workflow
These steps will help polish your images effectively.
- Crop and Straighten: Improve framing and balance.
- Adjust Exposure and Contrast: Correct lighting and tone.
- Color Correction: Fix white balance or saturation issues.
- Sharpen and Export: Prepare images for web or print.
Building Good Photography Habits
Consistency helps you develop instinct and skill. Practice daily to strengthen your visual awareness and technical understanding. Over time, these habits turn into natural creativity.
Habits for Continuous Growth
Small routines lead to major improvement.
- Review your settings after every shoot.
- Organize and back up your photos regularly.
- Study others’ work to expand your style.
- Set photography goals each month.
Common Beginner Mistakes to Avoid
Beginners often make errors that slow progress. Recognizing them early helps you grow faster. Correcting these mistakes refines both technical and artistic results.
Mistakes and Fixes
Avoid these habits for cleaner and more consistent shots.
- Ignoring composition rules leads to unbalanced frames.
- Overusing flash creates harsh shadows.
- Forgetting to clean lenses reduces image sharpness.
- Depending too much on auto mode limits your learning.
Essential Gear and Accessories
Proper gear supports both learning and creativity. You don’t need to buy everything at once—start with what fits your needs. As your skills grow, expand your kit wisely.
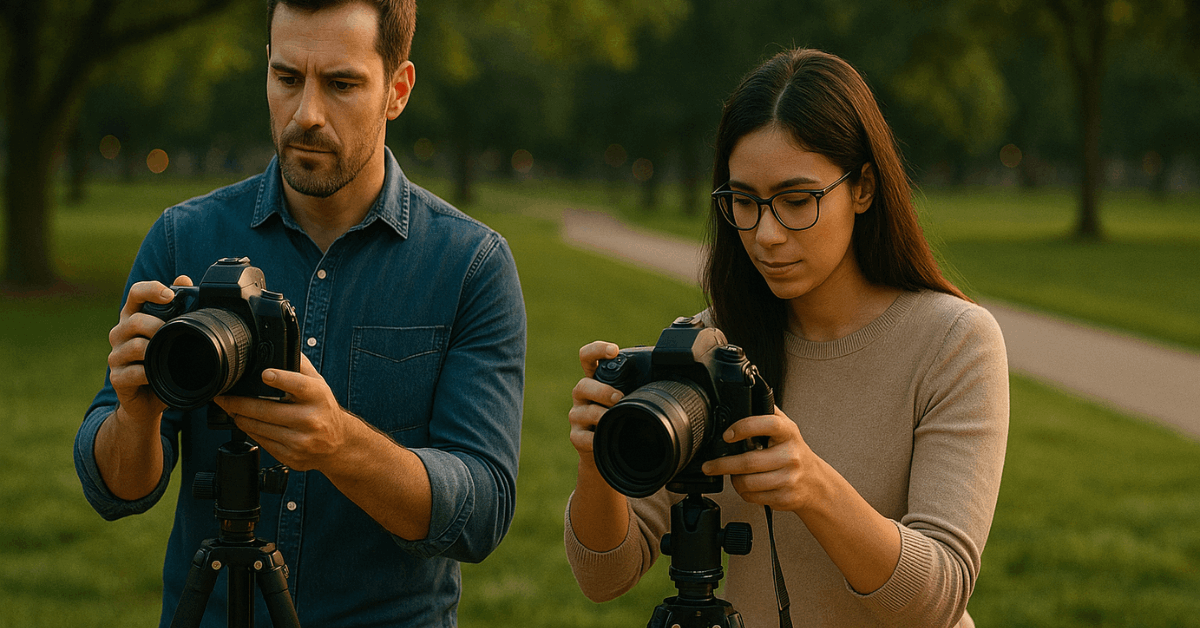
Recommended Equipment
Start with reliable essentials before upgrading.
- Tripod: Stabilizes shots in low light.
- Lens Cleaning Kit: Keeps your images clear.
- Memory Cards: Choose high-speed options for reliability.
- External Flash: Provides extra control over light.
Tips to Improve Faster
The more you shoot, the faster you’ll improve. Experiment with new styles and learn from your results. Photography mastery comes through repetition and curiosity.
Effective Practice Tips
Make each photo session meaningful.
- Try new genres like portraits or street photography.
- Practice in different lighting conditions.
- Join photography groups for feedback.
- Revisit old photos to track your improvement.
Conclusion – Capture Your World with Confidence
Professional photography starts with learning how to control light, focus, and exposure. Each skill you practice moves you closer to creating powerful and meaningful images.
Never rush the process—patience builds mastery. Keep shooting, keep learning, and let your photos tell the stories only you can capture.